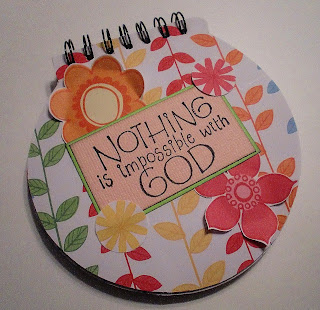
Personalized Notebook Cover
 Sometimes you need a special gift or decoration and can't find exactly what you want. Take this notebook for example. I wanted something this shape but didn't like the design on the cover. Using a little creativity and a cute pair of pliers, you can change any notebook cover to fit your needs.
 This 5-inch notebook was at the dollar store, just begging to be altered! If you check the spiral that holds the pages together, you can tell immediately if it will open easily. Some are one continuous loop that runs the entire length, but this one opens at each hole. Use a small pair of pliers (or just your fingernail) to open it up and remove the cover pages.
 Use your favorite adhesive around the edges of the cover and attach your background paper. Then use a paper punch of the same size as the holes to make new holes in the background paper. If you're going to cover both sides, make sure you punch your holes after you've attached the first sheet, otherwise you'll cover up the holes and it will be harder to find them.
 Once covered with decorator paper, slip the covers back onto the prongs and use your pliers to push them back together.
Now the fun part - decorating! Don't use embellishments that are too bulky so the cover will fold back properly. Decorate this like you would any other paper project, and don't forget about the insides and back. You can even add a journal block on the inside cover to write a special note, if you plan to give it as a gift.
This notebook, along with many other cards and gifts, can be found in our etsy shop: http://www.stufffromtrees.etsy.com/. Come by and browse!


Comments
Post a Comment